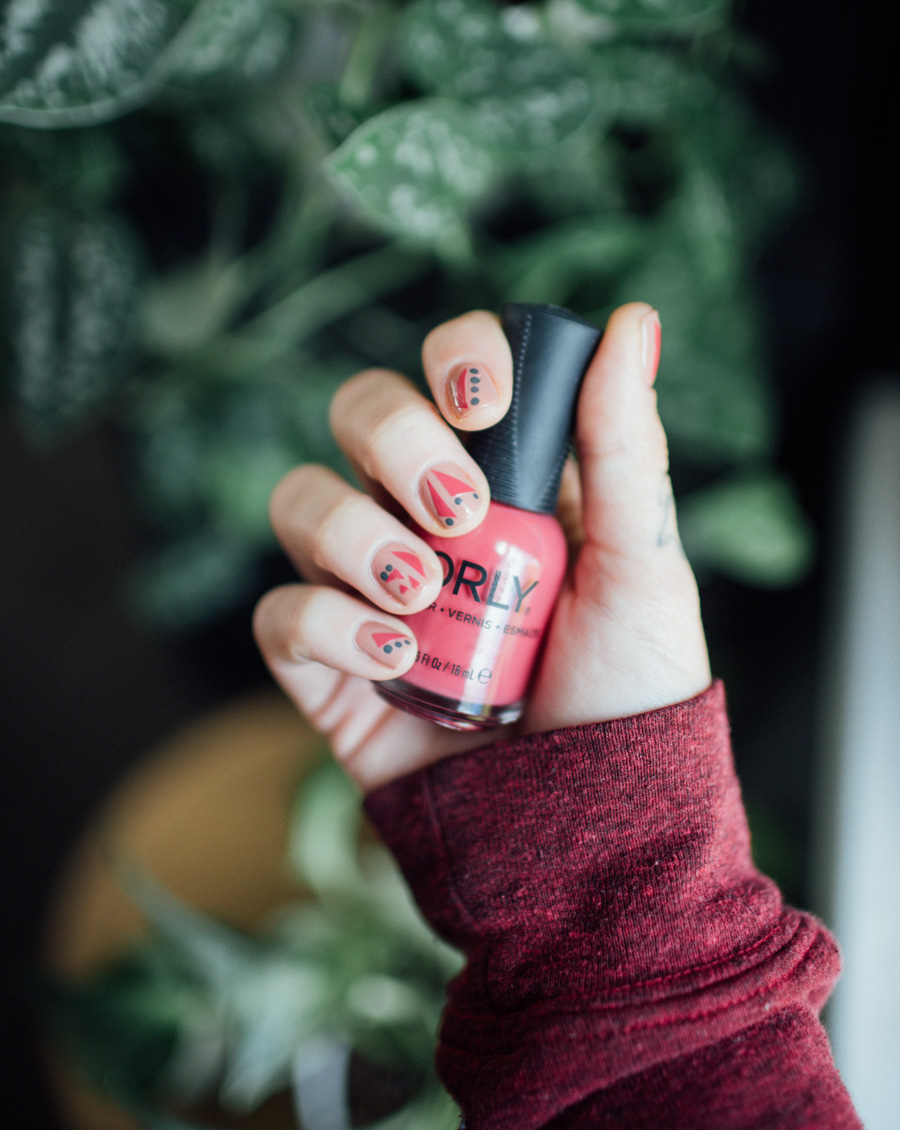
These last few weeks I’ve been experimenting with using scotch tape as a way to decorate my nails again. I first started doing this five or so years ago and even wrote a post with some tips. Playing around with this method again has me feeling all inspired! I thought it might be fun to update that old post with new tips and share a few photos of recent designs.
Sounds totally tacky to be doing your nails with scotch tape but the results are way cool and it’s super easy. Even better than that, it’s quick! In under twenty minutes you’ll have a manicure that looks like it took hours + a way steadier hand than anyone really has. As big of a fan as I am of taping off sections and stenciling in shapes, this is much easier.

How to…
Paint nail polish of your choosing on to scotch tape that is still attached to the roll. Once it’s thoroughly dry, cut the tape into whatever shape your heart desires, and apply to your nail. Seal it in with a top coat, and you’re all set!
SIMPLE. AS. THAT.


A few tips to get you started…
▴ Paint the tape before you paint your nails this way the tape has a chance to dry a little bit longer. If it’s still tacky when you try to cut it, you’re gonna make a mess.
▴ Make sure your nails are completely dry before applying the tape, or before cutting the tape for that matter. You wouldn’t want to smudge them.
▴ As long as everything is dry before you get started, the tape is easily removable if you decide halfway through your manicure you’re not in love with the direction you were heading. You can even reuse the pieces on a different nail. Be careful removing them though because the polish can flake off the tape.
▴ After you’ve decided on placement, be sure to press the tape down thoroughly. Air bubbles and corners not pressed down are basically a guarantee your manicure won’t last!
▴ Your top coat is the most important part of this process. If you don’t use one, the tape will almost immediately come off. My all-time favorite top coat has always been Seche Vite. It dries quickly and I have yet to have any issues with the tape peeling up from underneath it. Don’t be afraid to do a second coat if the corners of your tape pieces are sticking up a bit.
▴ Sometimes the small pieces of tape are really hard to place using just your fingers, try tweezers!
▴ Scissors without a straight edge, like these ones that cut different patterns, open you up to unlimited design options.


When you’re ready to remove it, the tape easily comes off with nail polish remover just like your polish.
If you have any questions, let me know! I’d love to see your nail creations if you decide to experiment with tape. Tag me on Instagram, @thedaintysquid.
xoxo
4 comments
[…] This post has been updated. Check it out here! […]
I love this!!!! For some reason, I thought you were using the tape as a resist mask to paint different parts of your nails… and that seemed tedious (not mentioning that, when I tried once, or the polish underneath was coming off with the tape, or the fresh polish was never dry enough and left me with smudged edges. But this is brilliant!!! Thanks for sharing 🙂
Oh this is a fun idea! I bet if I used an exacto knife I could cut some really intricate shapes too.
That’s a great idea!
Comments are closed.