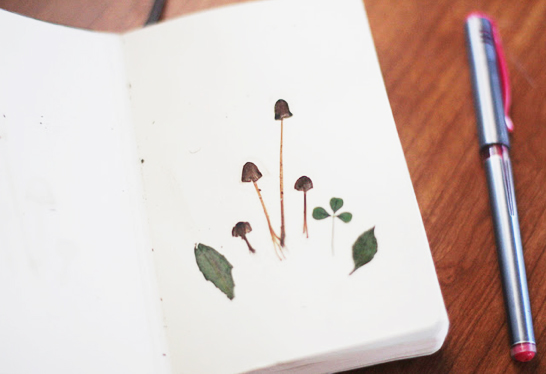
found a new favorite hobby – pressing flowers…
did lots of exploring and appreciating of nature…

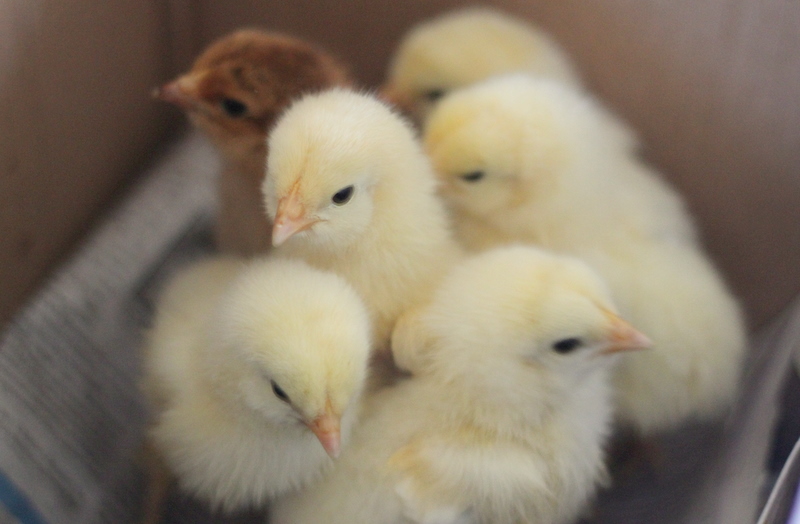
made lots of new animal pals…
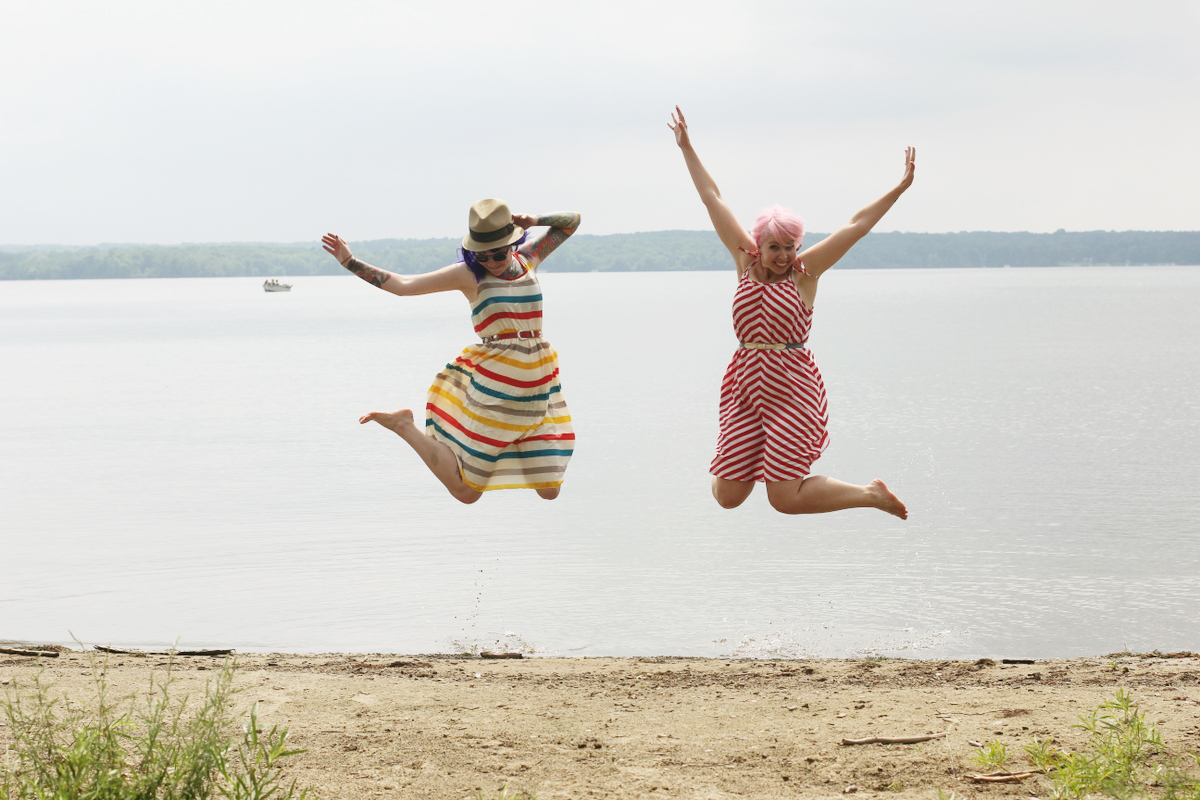
met a great new friend who I can hopefully continue to grow closer to in 2012…
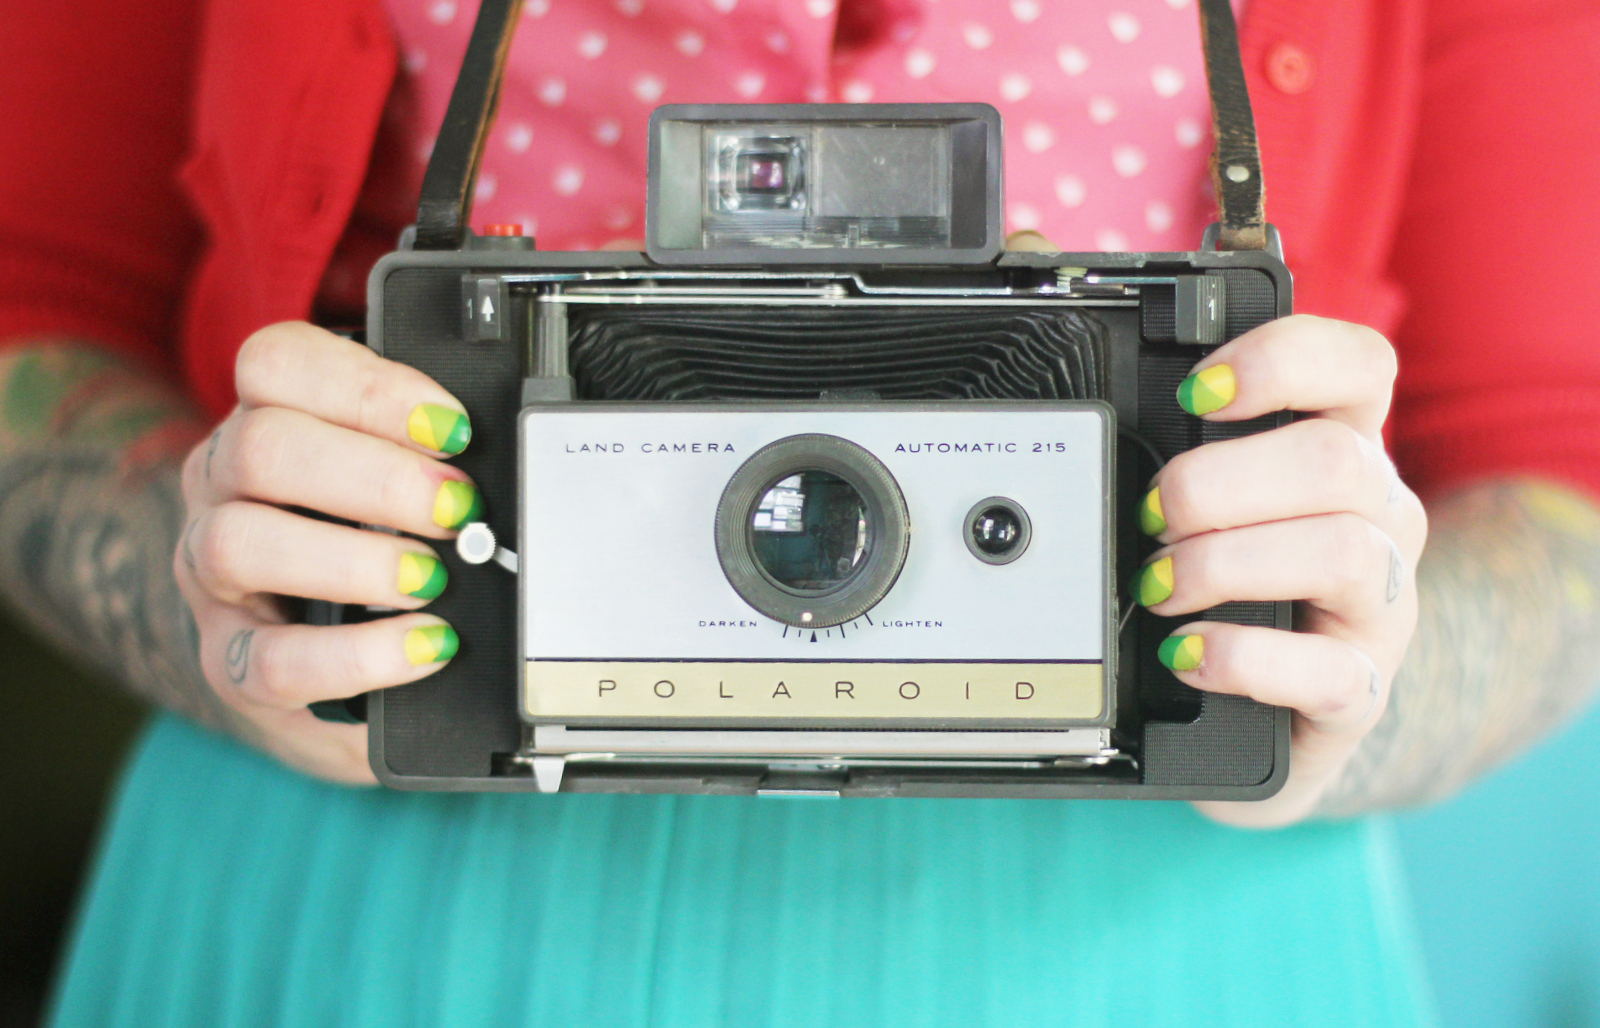
found a new favorite camera…
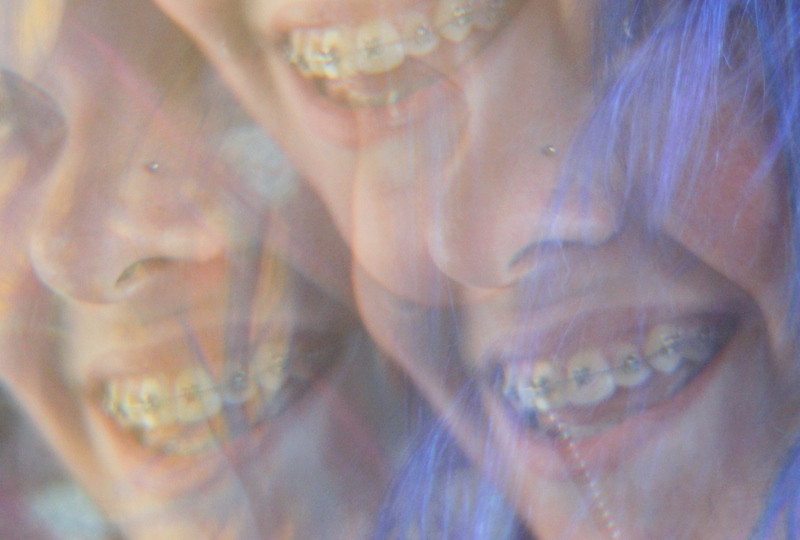
got braces and watched my teeth rapidly change…
was honored to be one of modcloth’s bloggers of the moment…

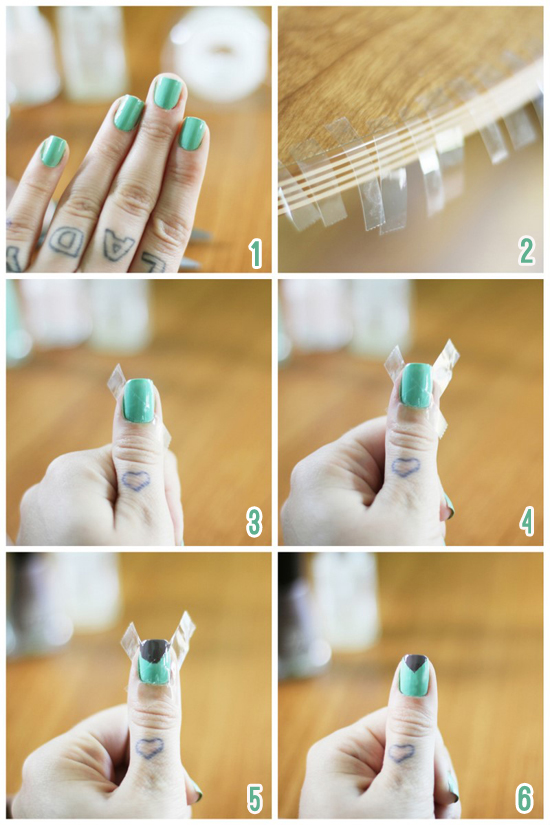
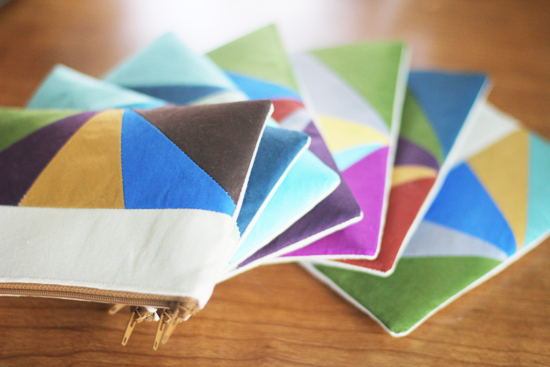
made lots of pretty things for The Dainty Squid shop and even started up a new business, Circus Bear Vintage, selling vintage…
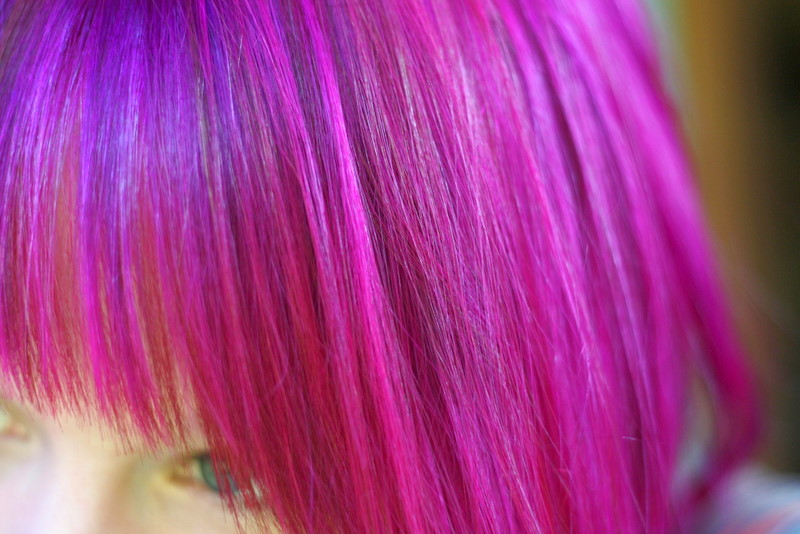
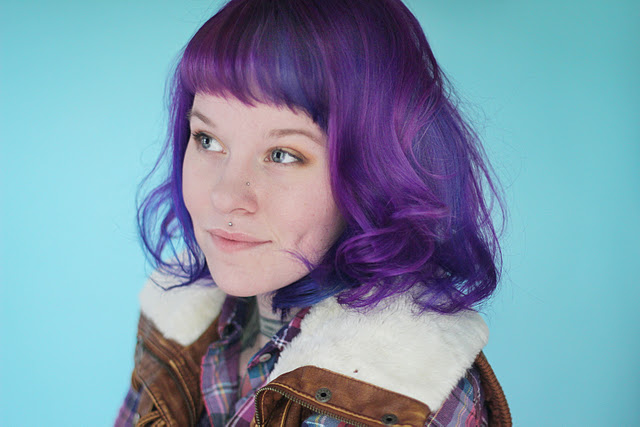
just like last year, dyed my hair lots of pretty colors…
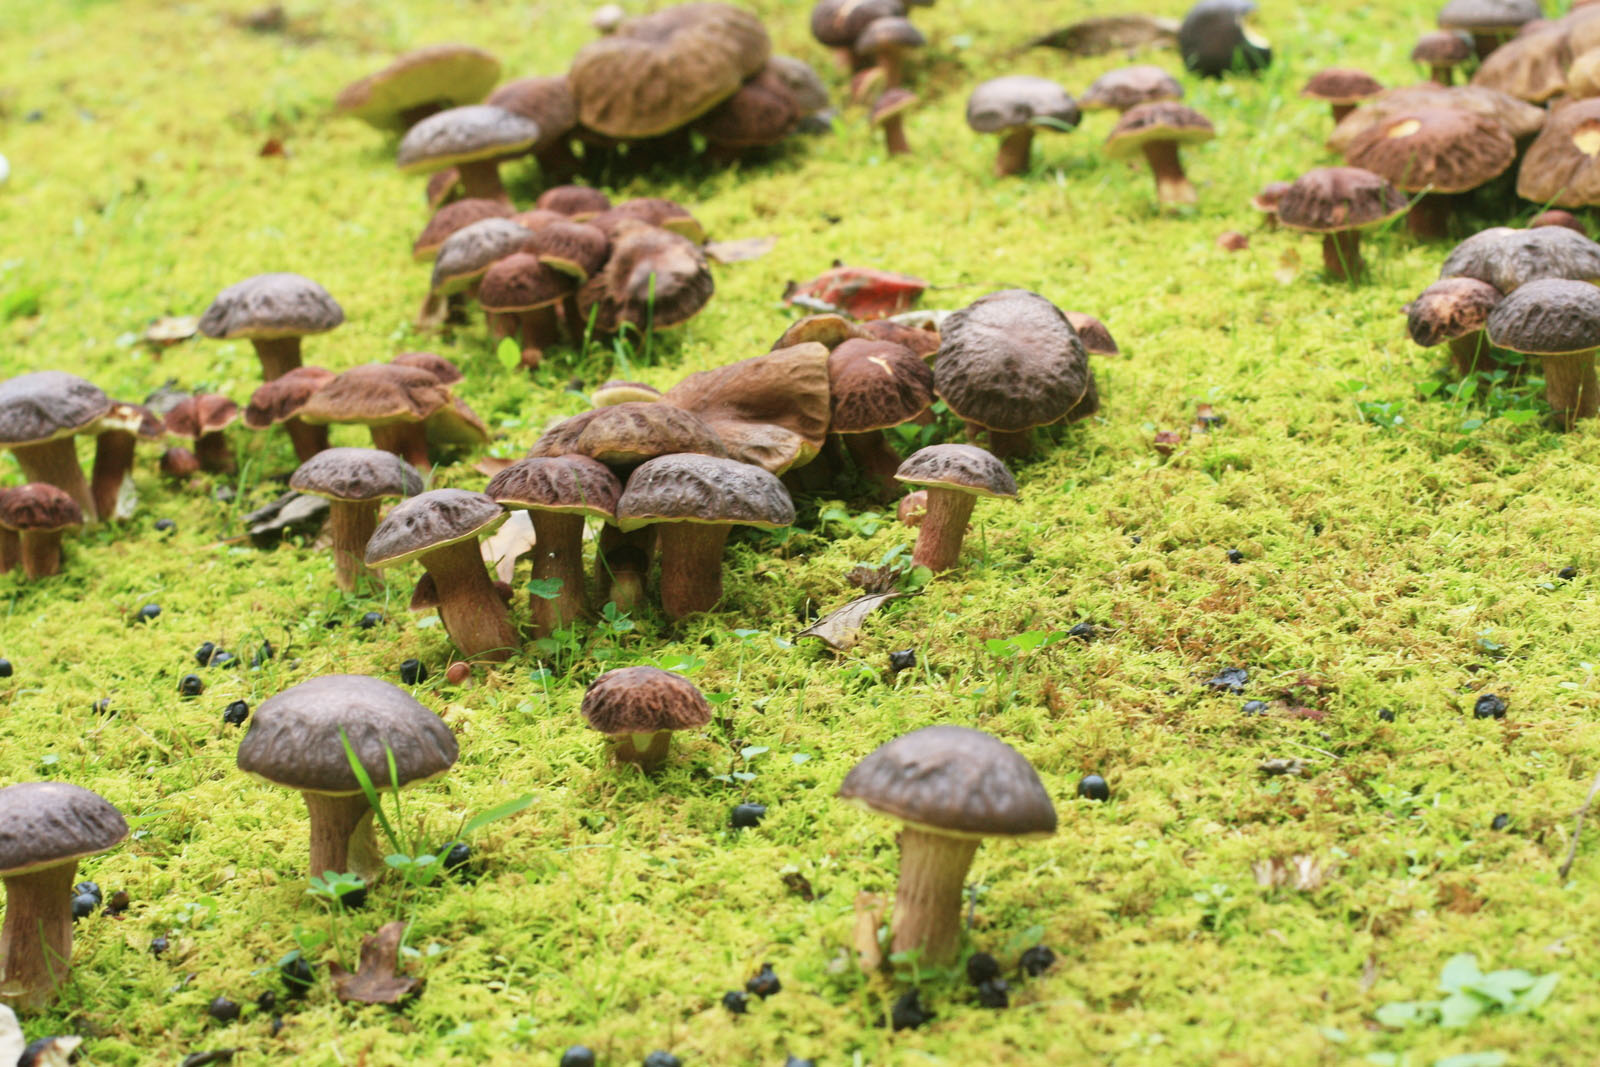
found and identified lots of mushrooms…
2011 was a great year! I can’t wait to see what 2012 brings! I hope you guys have a wonderful (and safe!!) New Years Eve!
xoxo