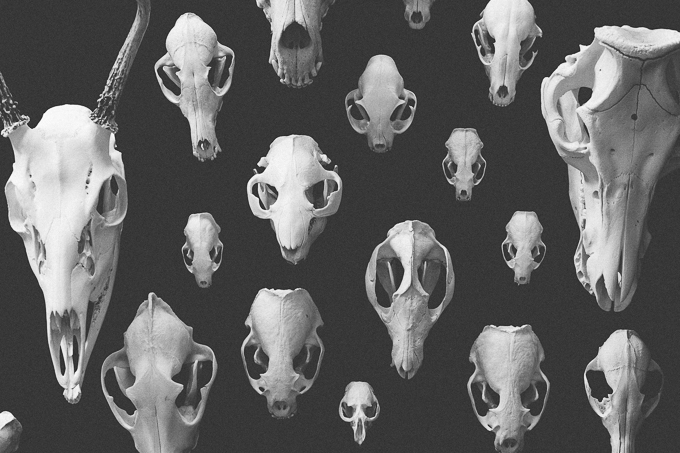
Cleaning skulls. Oh, what a topic! I’ve gone back and forth in my head a million times – is this something I should blog about? It’s one of my favorite hobbies, something I pride myself on knowing a lot about, and I definitely feel that I have information worth sharing but it’s a sensitive topic for a variety of reasons. Blogging about it I run the risk of scaring away readers who are offended, grossed out or simply just not interested. But like I mentioned above I have information I want to share. When I first started this hobby I had the hardest time finding answers to my questions. Even as a beginner there was a lot I read that I immediately could see was misinformation. I’ve learned so much just by trial and error.
I am an extremely visual person. I can gather more information from one photo than I can from a few paragraphs but because this can be such a graphic process I will not be sharing any photos of unfinished skulls. This just isn’t the place. I will share as much detail as possible though so if this isn’t your cup of tea, I suggest you scroll on right now. I’ll be back with your regularly scheduled programming tomorrow.
Obtaining skulls.
There are lots of different places to get skulls. My two main sources of skulls are the woods, I find them on hikes, and my dad’s friend from work. He hunts, and has no use for the heads so he sends them my way. Mickey, my good friend who is a taxidermist, recently wrote post on ethical taxidermy and how the term varies greatly because ethics are subjective. It’s an important read and it’s important for you to decide for yourself what is okay. I would never kill for my collection, and I certainly hope you wouldn’t either but being able to use a part of animal that someone else would otherwise just throw away is perfectly fine by me.
The best way I can recommend to get skulls is to let people know to keep their eyes open for you. Put out feelers. People won’t know to give you skulls unless they know you’re interested!
Just a reminder that, in most states picking up roadkill is illegal without a permit, so do your research if that’s a route you’d like to take! And if you’re in the US – stop picking up bird skulls. Bird law is real.

Gather your supplies.
I have a locker in my dads garage filled with my supplies, inside are…
▴ Gloves. Elbow length & regular disposable rubber ones.
▴ Heavy duty vinyl apron. You don’t want to splash anything on yourself, believe me.
▴ Respirator. Maceration is very smelly process, more on this below.
▴ Scalpel handle and blades.
▴ Field instrument kit. You don’t actually need everything in this kit but I’ve found it incredibly helpful!
▴ Bucket with lid. The container some kitty litters come in works too!
▴ Peroxide. Not bleach. Never bleach.
▴ Small container only slightly larger than the skull you’re working on.
▴ White Elmer’s Glue.
It’s always a good idea to have an extra pair of gloves and a few plastic bags in your car or camera bag if you’re hoping to find skulls while you’re out and about. Nothing worse than finding a great specimen and having no way to transport it.
Cleaning.
There are lots of different ways to clean a skull. My method of choice is maceration. I simply skin the skull. (There are tons of tutorials online on skinning, it does take a bit of practice.) Then plop it in a bucket full of water. The bacteria eats away the flesh and after a period of time you’re left with a clean or mostly clean skull with fairly minimal work.
Hair is not broken down by maceration so you’ll be saving yourself lots of time by skinning the skull first. You’ll also want to remove eyeballs which is where the field instrument kit from above will come in handy.
I like maceration because it works well on animals in all different stages of decomposition. It’s obviously best on “fresh” flesh, the bacteria will flourish. Even with skulls that have dried or mummified flesh on them soaking them in the bucket will loosen anything so it’s easily removed. Another up side to maceration is that everything is contained so there’s no worry of another animal running off with your skull or losing any pieces during the cleaning process. The downsides are that is smells REALLY bad and it can take a while.
Most people you who use maceration as their cleaning technique keep their water at a constant temperature using an incubator or aquarium thermostat. Keeping the water warm helps provide the bacteria with a great habitat to live, and multiply. I actually don’t use any sort of water heating though. Simply because I don’t mind if it takes longer.
How long maceration takes really depends on the temperatures, and how large the animal is. I would say on average it takes 3-4 months for a skull to be finished without regulating the temperature. It’s a good idea to change your water at some point during the period if it gets particularly nasty.
Let me just reiterate one more time – maceration stinks. It’s probably one of the worst smells you’ll ever smell. Do not do it in your house, and don’t do it if you have a very small yard. Wear a respirator and if a friend is kind enough to let you do it on their large piece of property bring spare clothes because you’ll probably smell afterwards.

Maceration tips.
▴ Be patient. Maceration takes time, especially if you’re not regulating your temperature. I process skulls at my parents house since they live on seven acres. If I’m feeling particularly impatient I will take them out and do a little bit of work with my field kit, cutting off any flesh I can just to speed up the process. Wear your respirator if you do this, please!
▴ It’s a good idea to wrap skulls in cheesecloth or even old pantyhose before putting them in water. You want the liquefied tissue to be able to leak out yet you don’t want to lose the little pieces, like teeth.
▴ Don’t forget about your skulls. When you first start out the excitement will make it really really hard to forget about skulls you have soaking but after some time it is kind of easy to forget if you have anything processing or not. If left in water too long skulls can become weak, and brittle.
Whitening + Finishing Up.
After macerating you may need to do some finishing touches such as removing connective tissue. Use your field kit to remove any remaining tissue. EVERY SINGLE PIECE. Anything, I mean anything, left will start to smell eventually. Take your time looking over the skull and making sure there is nothing but bone. Gently hose down the skull, I wouldn’t recommend bringing it in the house at this time. It will most likely have a stench to it still.
Find a container only slighter larger than the skull you’re working with, fill it with peroxide and add the skull. Never ever ever use bleach. I don’t care who told you or where you read it was okay but it is not. Bleach ruins skulls. I don’t cover my skulls once they’re in the peroxide and I do leave them outside. The sun will help speed up the process. Depending on the size of the skull and the condition it’s in it shouldn’t take too long at all for it to whiten. Generally I’d say it takes three to four days, sometimes less and sometimes more.
After the peroxide bath I bring the skull inside, rinse it off then wash it with dish soap, rise again and set it on a wash cloth to dry. After they dry I start putting everything back together. Regular old Elmer’s Glue is what I use to glue the mandible back together and the teeth back in.
To glue the mandible back together I simply put glue on one side and squish the two pieces together. I set them down on a table, still holding them together, and place the skull on top making sure they fit together perfectly. If they do you should be able to leave the skull on top of the mandible while it dries. Just be careful not to bump it for the next twelve hours or so. Sometimes it’s a pain, and takes a bit of fiddling around before you can get them to balance perfectly.

This + That.
▴ I recommend the book Animal Skulls : A Guide to North American Species. It is a must have if you’re cleaning skulls. It’s a little bit pricey, even used but it’s so worth it. It has photos, measurements, and tons of information to help to correctly identify skulls. My favorite part are the life size illustrations of skulls.
▴ Sometimes I get comments wanting to know how I get skulls to look so nice, or so white and on top of all the information that I shared above it really depends on your specimen. Below are two cat skulls I have in my collection. The one on the left was found on the side of the tracks. Nature had already done the dirty work for me. The cat on the right was cleaned from start to finish by me. Other than just the nasal bone and a few teeth missing the skull on the right is a lot more weathered. No matter how long I soaked it or whatever, it would never ever look like the skull on the right. Generally speaking, skulls you clean yourself will be of higher quality than what you can find already cleaned.

This is obviously not an all encompassing post on skull cleaning. Like I said, there are lots of different ways, this is simply how I choose to do mine. I recommend doing as much reading on the subject as possible. Take pieces of information from many sources to find exactly what works for you. Just remember; don’t bleach and don’t boil! Good luck! If you have any questions, let me know!
xoxo